Showing posts with label Linux. Show all posts
Showing posts with label Linux. Show all posts
Monday, December 16, 2019
Installing Parrot Security OS in VirtualBox
December 16, 2019
Parrot OS: Parrot OS is one of the best network penetration OS. It is a free and open-source GNU/Linux distribution based on Debian with a focus on Security, Privacy, and Development.
For more information click here
Let us see how to install it in a Virtual Machine...
Before we begin we need to have two things
1. VirtualBox (Extension Pack also)
2. Parrot OS iso file.
*In this article we are going to use the Parrot OS Security version. If you want, you can also use the Home/Workstation version
Creating the Virtual Machine
Open your VirtualBox application, click on the New button. You need to specify three things here name, type, and version of your virtual machine.
1. Name - You can choose any name (EX: Parrot Security OS)
2. Type - Linux
3. Version - Debian (64 bit)
Click on Next, here you need to specify the memory amount which is going to use by your virtual machine. 2 GB is recommended if you have more system memory you can give up to 4 GB or more
Click on Next you will find Create a virtual hard disk now option is selected by default, leave it as it is and click on Create.
Hard disk file type - VDI (VirtualBox Disk Image) [leave it default] --> Click on Next
Storage on physical hard disk - Dynamically allocated. [leave it default] --> Click on Next
Now choose the storage size, which you want to give to this virtual machine. 25 GB is fine. If you want you can give more according to your needs and click on Create.
Virtual Machine created successfully, now we have to change a few settings of this virtual machine.
Settings
Select your virtual machine and click on the Settings button (located right side of the New button).
A settings dialog box will open. You will find several settings here, we are going to change some of these.
1. System - Come to the Processor tab and select the CPU cores for the virtual machine. I have 4 core CPU so, I gave up to 2 cores to my virtual machine.
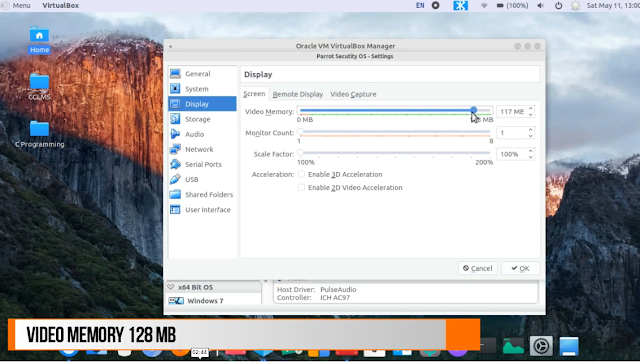
2. Display - Select any amount of video memory up to 128 MB
3. Storage - Select the Empty disc icon (Under the Controller: IDE) from the left panel and select the Optical Drive from the right panel and browse the Parrot OS iso file. Select the iso file, click on OK and finally press the OK button once again to close the settings window.
Our settings are completed now time to come to install the OS.
Installation
Select your virtual machine and click on Start.
(*Use UP, DOWN, LEFT, RIGHT arrow keys to navigate between the menus)
1. In the first window, select Install and press the Enter key
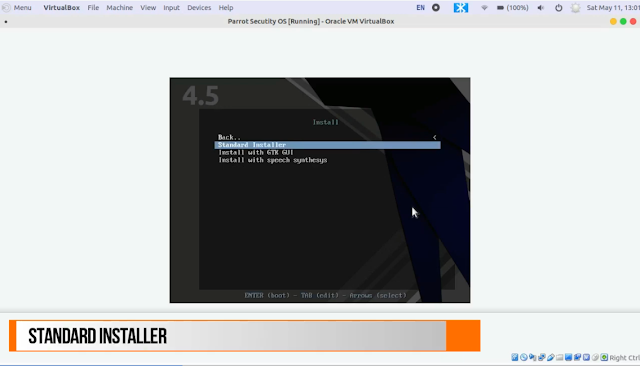
2. Next, choose Standard Installer, If you want you can choose to Install with GTK GUI. In the installation process, I will go with Standard Installer.
3. Choose your native language from the language window and press enter key.
4. From the next window select your location
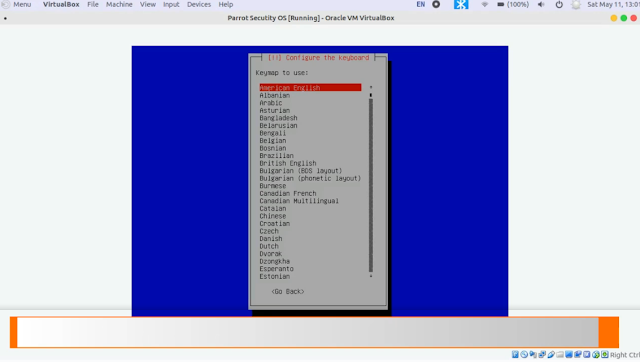
5. Select your keyboard layout
6. Now, you need to set up the admin (root) password. (Mix upper and lower case with numbers to make a strong password)
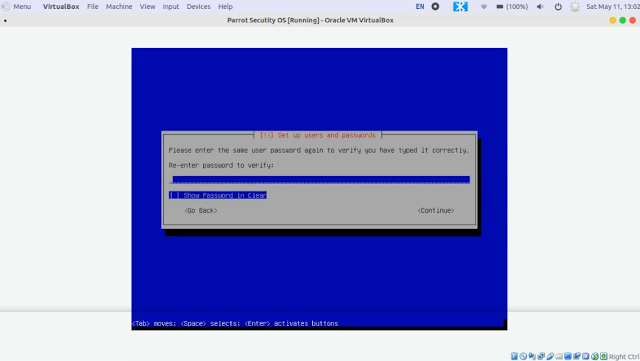
7. Input your password once again to verify it.
8. Now Input your admin account name. In the next window choose the user account name (you can use the same name for admin and user)
9. Now choose the user account password and verify it.
10. After that, select Guided - use entire disk option from Partition disks window
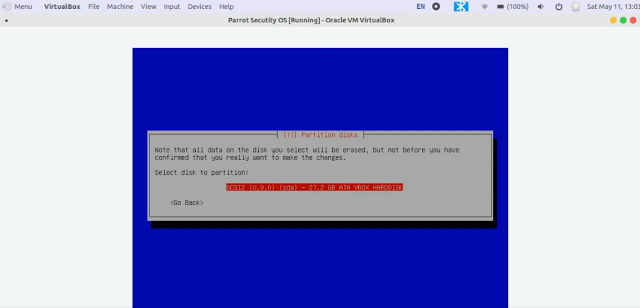
11. There is only one option in the next window, so select it and press the enter key
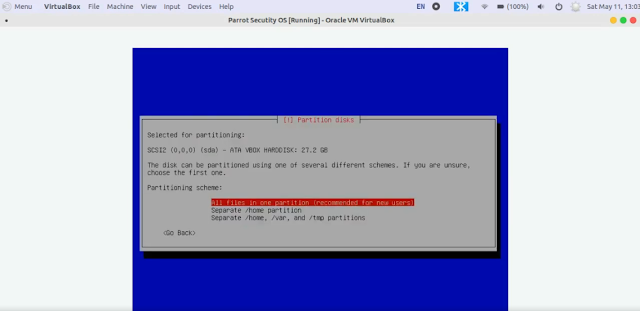
12. Select All files in one partition (recommended for new users) [Selected by default]
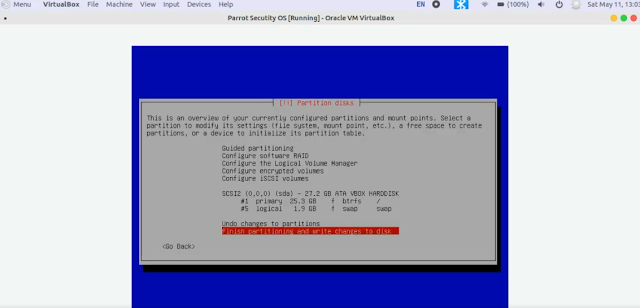
13. Select Finish partitioning and write changes to disk [Selected by default]
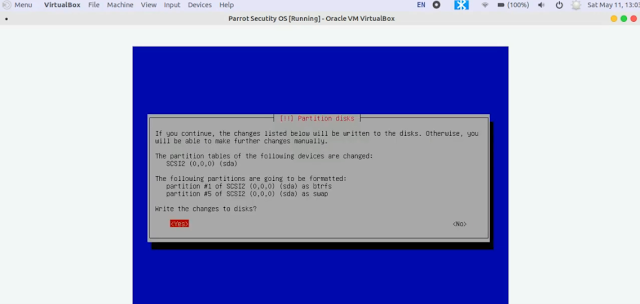
14. Now use left arrow key and select Yes to accept to write changes to the disk.
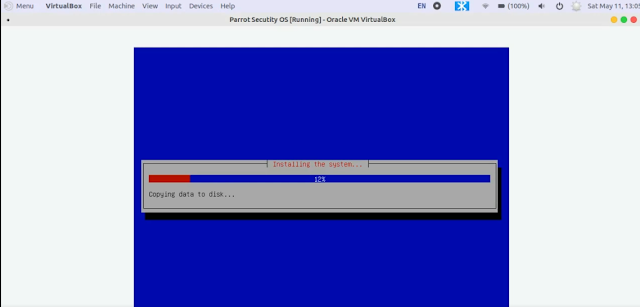
Finally, Installation begins (It takes 10-30 min according to your system specification)
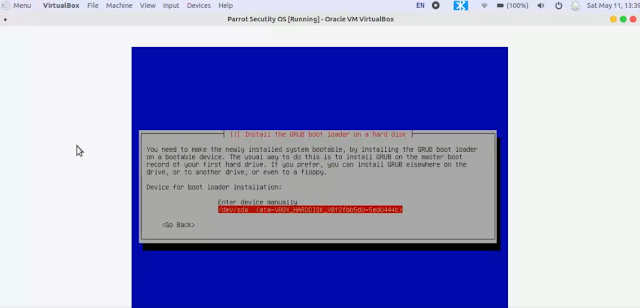
15. When the installer asks select Yes to install the GRUB boot loader to the master boot record. [Selected by default]
16. Select /dev/sda (Second option)
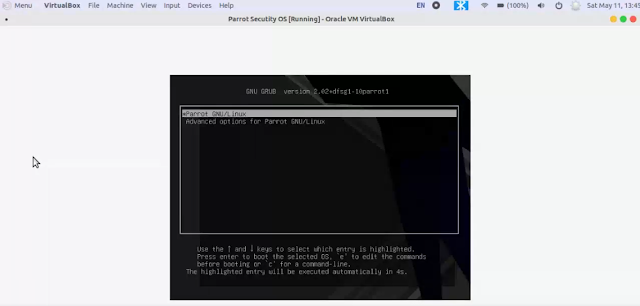
17. Select *Parrot GNU/Linux to start the virtual OS
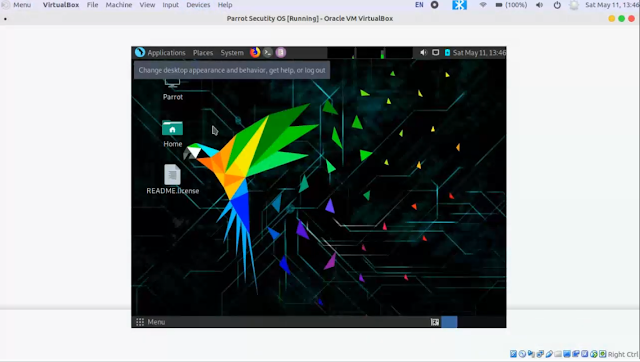
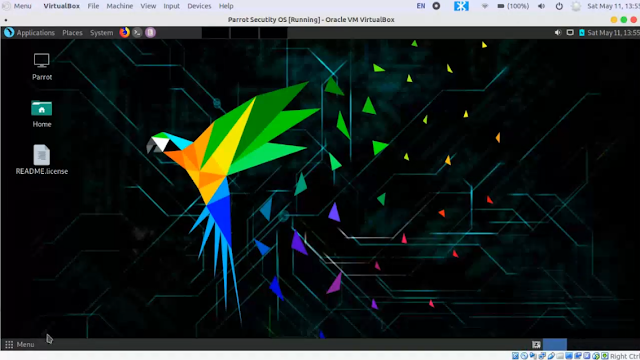
Congrats you successfully installed Parrot Os in your VirtualBox
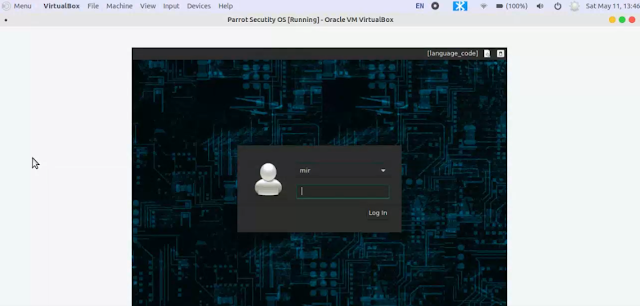
Use your account password to log in the system
To create a shared folder and full screen your virtual machine read... Shared Folder Between Host and Linux Guest Machine
Sunday, August 18, 2019
Displaying System info With the logo in Linux Terminal
August 18, 2019
Do you often see people sharing their system info on Facebook, Linux community group or somewhere else in the form of ASCII text art and you wonder how they do it? Because normally the Linux terminal doesn't display ASCII text or any graphic art by default.
So, here are the solutions to do this.
Install Neofetch or Screenfetch
Install Neofetch or Screenfetch
Those tools are displayed following system information with the logo.
- Linux distribution version
- System model
- Linux kernel version
- Uptime
- Packages
- Shell version
- Screen resolution
- Desktop Environment
- Windows Manager
- Theme and icons
- Terminal tool in use
- CPU, GPU and RAM information
1.Neofetch
Neofetch for Debian based distros such as Ubuntu, Linux mint, etc.
Installing Neofetch
1. Type in your terminal sudo su then enters your password.
2. apt install neofetch or apt-get install neofetch
1. Type in your terminal sudo su then enters your password.
Starting Neofetch - Just type neofetch in your terminal.
* If you are using older Ubuntu version, Such as Ubuntu 14.04, Ubuntu 16.04 or somehow the apt-get install neofetch command did not work, you need to add PPA:
sudo add-apt-repository ppa:dawidd0811/neofetch
apt-get update
apt-get install neofetch
2.Screenfetch
Installing Screenfetch apt-get install screenfetchScreenfetch PPA sudo apt-add-repository ppa:djcj/screenfetch
apt-get update
apt-get install screenfetch
Installing Screenfetch in Fedora-based distros
sudo dnf install screenfetch
Sunday, June 9, 2019
Run Windows Application on Linux With Wine
June 09, 2019
Linux is a great operating system, no doubt on it and it has a great open-source software repository system also, but the problem is you can't find popular windows commercial programs (such as Adobe suite, MS Office, Offline Windows games and so on) in Linux Software Center or repositories. So, newcomers find difficulties to use Windows Programs on Linux. To overcome this weakness a compatibility layer called Wine was created.
Wine development is in progress, so it won't run every Windows application perfectly, in fact, some applications may not work at all but, it's improving all the time and it is the most popular way to install Windows programs on Linux.
You can check WineAppDB for an application to see ratings, comments, tips, guides and tweaks left by other users.
Install Wine on Linux
First Method:
Open Software Center and search for Q4Wine
Choose Q4wine and click on install
The system will ask about password authentication, Just put your's account's password and authenticate.
Second Method:
Open your terminal then type sudo su and hit the Enter key, System will ask about account password, input the password.
Congratulations, You are successfully installed Q4Wine on your system.
Wednesday, May 22, 2019
eDex-UI: Sci-Fi Computer Terminal
May 22, 2019
eDEX-UI is a fullscreen, cross-platform terminal emulator and system monitor that looks and feels like a sci-fi computer interface. It's inspired by the TRON Legacy movie effects.
Download Link (Github): Download
Download available for Mac, Windows, Linux 32 and 64 bit OS.
Download the binary package according to your OS.
Note: For Windows and Mac it is normal installation but in Linux, you need to provide executable permission to use the eDEX-UI AppImage (right-click it, select Properties, then enable executing the file as program) and then simply double click the.AppImage file to run it.
You can exit eDEX-UI either by typing "exit" in the terminal or by pressing
Alt + F4
Advantages:
Provide multiple tabs
On-screen Keyboard
Real-time system monitoring (such as RAM, CPU uses, Network Status)
Excellent sound effect.
Sci-Fi looks.
Disadvantages:
High RAM and CPU use.
Screenshot:
Saturday, May 18, 2019
ASCII Text Art in Linux Terminal
May 18, 2019
1. Terminal & Admin privilege
Open your terminal (ctrl+alt+t) then type there sudo su you are asked about your account password just enter the password and hit the Enter key from the keyboard.
2. Install figlet
To install figlet in your system type in the terminal apt-get install figlet, if asked press y key to continue.
3. Install leafpad
4. Edit the bashrc file
bashrc file is a hidden file located in the root folder. For editing this file we need a text editor (here we use leafpad)
So, type in the terminal leafpad /root/.bashrc and hit Enter key. After that, you can see the bashrc file open in the leafpad editor.
Scroll down to the end of the file then type figlet your name (EX: figlet Anonymous) and type in the next line echo "your message" (EX: echo "We are Anonymous") then save the file (File->Save)
You are done. Now when you open the terminal with admin privilege, you can see your name and message.
Subscribe to:
Comments (Atom)

